Note-1: DNF has a lot of commands and options. You will see other methods presented that look different from what is presented here. Some are valid and will work fine some may not. This method is well tested and was derived in consultation with OM developers. This how to is oriented to package management from Konsole or other terminal. It is easy to understand and follow.
Note-2: Yes DNF package manager originally was imported from Fedora with the help of a Red Hat developer (@ngompa) . However OpenMandriva package management is different from what Fedora does and we use dnf differently in our Cooker and ROME platforms. Notably the use of dsync or distro-sync rather than up or upgrade to upgrade these systems. This is important.
This standard recommendation applies to all versions of OpenMandriva Lx. Current versions are.:
- Cooker (development branch for people that like dealing with problems.)
- ROME the new rolling release of OMLx (best choice for most users)
- Rock the release for servers and folks that do not like much change (infrequent updates)
Do not use dnfdragora or Discover to upgrade your system.
To be safe and thorough use this in Konsole (terminal):
$ sudo dnf dsync --refresh
Explanation: OpenMandriva packaging is unique to OpenMandriva Lx. All OpenMandriva packages are built at our ABF (Automated Build Farm). OM releases have a set of packages called distro-release. One of these is distro-release-repos-pkgprefs. In this package developers put information about package preferences for dnf to use in selecting software upgrades or distro-syncs. In our Cooker and ROME releases this package get modified often, In Rock releases this almost never changes. This is why OM uses the dsync or distro-sync command to upgrade Cooker or ROME systems. To be consistent we started recommending this for all OMLx systems. However in Rock systems dnf up --refresh would work just fine or just use the commands presented here.
OpenMandriva uses dnf package manager with zypper being available for users also. Explanations here focus on dnf. This is the DNF Command Reference.
To explain the commands shown above I will use the definitions from the DNF Command Reference.
sudo dnf dsync --refresh
-
sudo is not a dnf command it is a basic Linux command. The sudo command allows you to run programs as another user, by default the root user. If you spend a lot of time on the command line, sudo is one of the commands that you will use quite frequently. sudo as configured by default in OMLx systems allows one to run commands as ‘root’ or ‘administrator’. Also called ‘super user’.
-
dnf is the command line package manager. One invokes commands with
dnf <command>. -
dsyncis the command and is an abbreviation ofdistro-sync. From DNF Command Reference:
Distro-Sync Command
Command:
distro-syncAliases:
dsyncDeprecated aliases:
distrosync,distribution-synchronization
dnf distro-sync [<package-spec>...]As necessary upgrades, downgrades or keeps selected installed packages to match the latest version available from any enabled repository. If no package is given, all installed packages are considered.
Further this command automatically uses packages defined by the option --best.
-b, --bestTry the best available package versions in transactions. Specifically during dnf upgrade, which by default skips over updates that can not be installed for dependency reasons, the switch forces DNF to only consider the latest packages. When running into packages with broken dependencies, DNF will fail giving a reason why the latest version can not be installed.
--refreshis an ‘option’ added to the commanddsync.
--refreshSet metadata as expired before running the command.
This forces dnf to automatically refresh metadata to the latest available. You will see all enabled repositories listed and updated. This ensures that user is getting the latest software available.
Next we discuss a few desirable things to keep you system in great shape as far as OM software.
sudo dnf autoremove
sudo and dnf were described above.
Autoremove Command
Command:
autoremovednf [options] autoremove
Removes all packages from the system that were originally installed as dependencies of user-installed packages, but which are no longer required by any such package.
As stated this simply removes packages originally installed as dependencies that are no longer required.
sudo dnf clean all
Clean Command
Command:
cleanPerforms cleanup of temporary files kept for repositories. This includes any such data left behind from disabled or removed repositories as well as for different distribution release versions.
dnf clean dbcache
Removes cache files generated from the repository metadata. This forces DNF to regenerate the cache files the next time it is run.dnf clean expire-cache
Marks the repository metadata expired. DNF will re-validate the cache for each repository the next time it is used.dnf clean metadata
Removes repository metadata. Those are the files which DNF uses to determine the remote availability of packages. Using this option will make DNF download all the metadata the next time it is run.dnf clean packages
Removes any cached packages from the system.dnf clean all
Does all of the above.
Among many things this command will do is to prevent dnf from trying to install any outdated packages left in the dnf cache (/var/cache/dnf).
One more thing, sometimes there are changes in things like package naming where one may need to use the option --allowerasing.
--allowerasingAllow erasing of installed packages to resolve dependencies.
So for users that choose to keep their system up to date from cli we have this (copy and paste) procedure:
sudo dnf dsync --refresh
sudo dnf autoremove
sudo dnf clean all
With an awareness that occaisionally one might need to use the option --allowerasing for certain problems. Like this:
sudo dnf dsync --refresh --allowerasing
sudo dnf autoremove
sudo dnf clean all
Note-3: When using the autoremove command or the --allowerasing option it is wise to pay attention in case something is about to be removed you do not want to remove. In that case it is best to ask questions in the English Support Forum with a descriptive title and all of the dnf output copied and pasted in a .txt file or contact OM devs at OpenMandriva Chat.
Note-4: If one has their terminal (Konsole) set for unlimited scrollback then if there are problems it is easy enough to copy and paste the dnf output .txt file and post that in their forum post of OM chat. However many users are not aware of the unlimited scrollback setting and others may find it more convenient to create the dnf logs automatically with an addition to the commands used. Like this:
sudo dnf --allowerasing --refresh dsync 2>&1 | tee rome-dsync.log.txt
sudo dnf autoremove 2>&1 | tee rome-autoremove.log.txt
That creates the files rome-dsync.log.txt and rome-autoremove.log.txt in the directory where you are doing the dnf transaction. Usually that will be in /home/<username>. Warning if you use those command again the original files will be overwritten and gone forever. So in that case you would need to rename the files in the commands like this:
rome-dsync.log-1.txt
rome-dsync.log-2.txt
rome-dsync.log-3.txt
rome-autoremove.log-1.txt
rome-autoremove.log-2.txt
rome-autoremove.log-3.txt
Or you could use the date instead of 1, 2, 3.
Then you have the files to post in your forum or chat post.
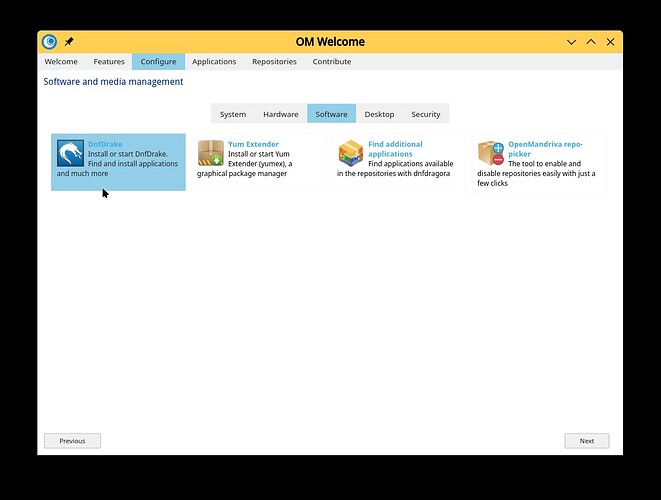
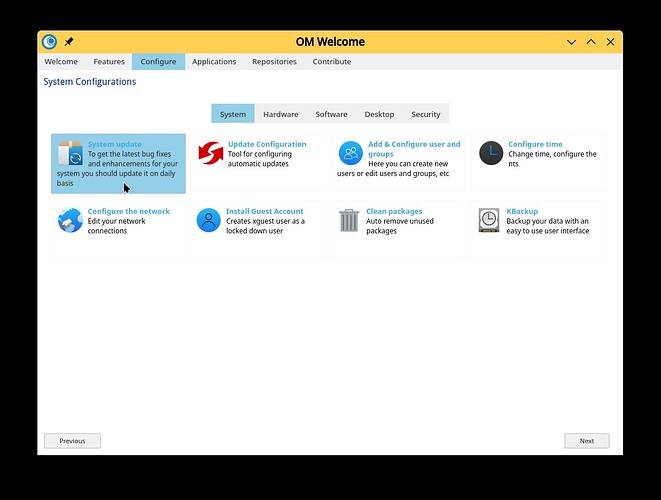
Addendum: For a better GUI package manager use DnfDrake. DnfDrake is available for install in the OM-Welcome module.
One may use commands similar to the ones presented here in dnfdrake. Also there is a very handy update utility in OM-Welcome.
.
As always if users have any questions or problems post in the English Support Forum with a descriptive title and all of the dnf output copied and pasted in a .txt file or contact OM devs at OpenMandriva Chat. You can add .txt files in OpenMandriva chat also.

