This procedure updated for 2024 since the way things look in NetworkManager (aka: Connectiions - SystemSettings) has changed.
To do this you will need an account at PIA VPN and there is a fee for that.
Install these:
sudo dnf in lib64nl-idiag3_200 lib64nl-xfrm3_200 iptables lib64nsl-static-devel
Select “Download VPN for Linux” here.
Next we need to download the openvpn files from here. I used the 3rd entry OPENVPN CONFIGURATION FILES (STRONG).
In the folder where you downloaded these you need to make the first thing you downloaded pia-linux-3.5.7-08120.run executable like this:
$ sudo chmod +x pia-linux-3.5.7-08120.run
Next install the .run file as user like this:
$ ./pia-linux-3.5.7-08120.run
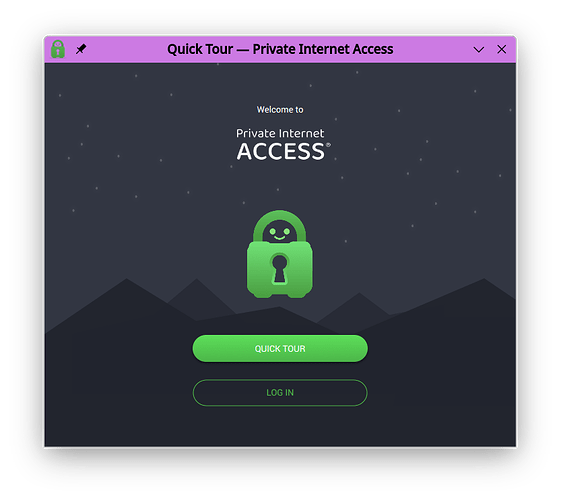
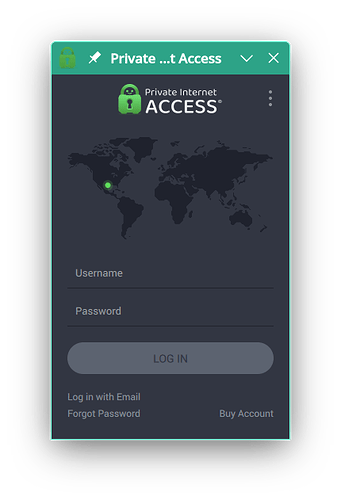
You will see a window where you can login, or take the tour, for now you can close it:
Next we want to copy the installer for the ovpn files to /etc/openvpn:
$ sudo cp openvpn-strong.zip /etc/openvpn
Then I list several steps here:
$ cd /etc/openvpn
$ sudo unzip openvpn-strong.zip
$ sudo rm openvpn-strong.zip
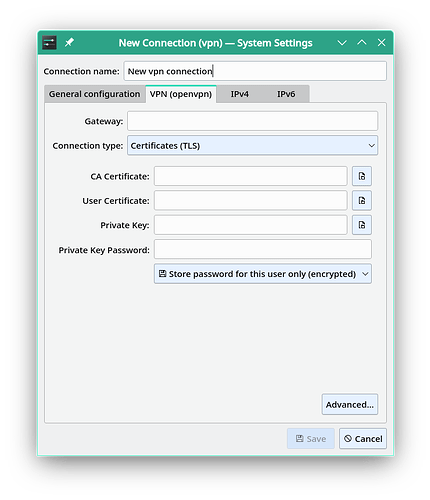
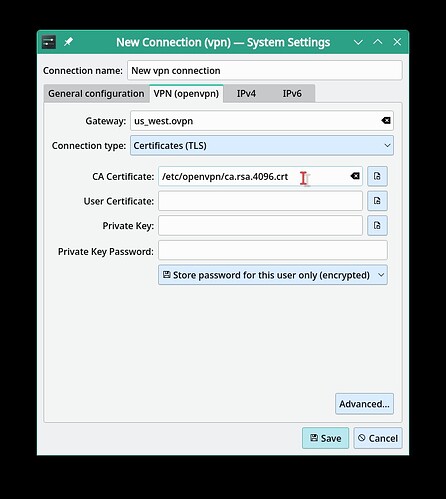
Now go to the network icon in your system tray click on it and click on the configuration icon at top right to open “Configure Network Connections”. Click on the + sign and we shall create something. Scroll down until you find “VPN Connections” under that find “OpenVPN” and select “create”. That opens this window:
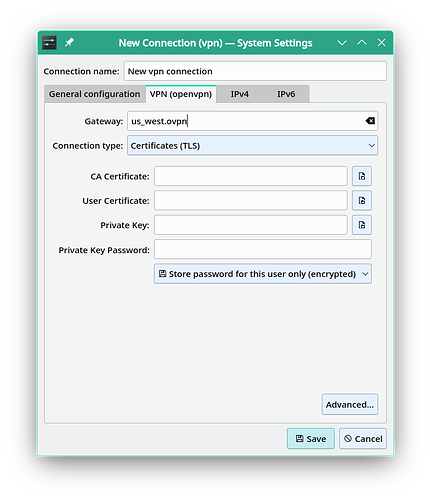
You can use any name you wish under ‘Connection name’. Under ‘Gateway’ you enter one of the .ovpn entries in /etc/openvpn. I used one relativly close to my physical location.
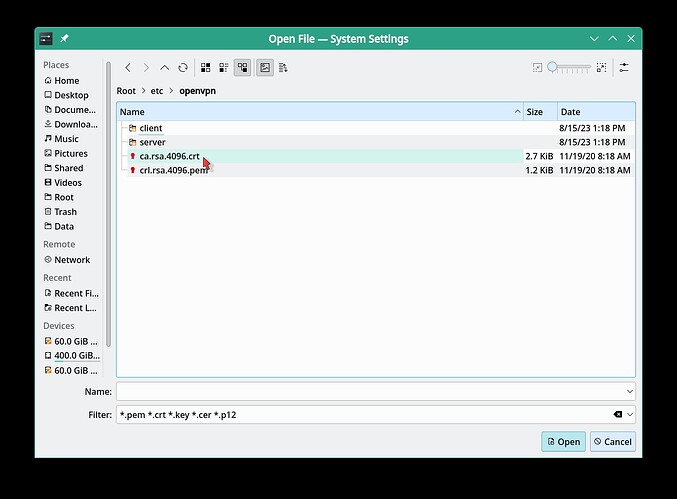
Next in the “CA Certificate” line navigate again to /etc/openvpn and fine the .crt file and select that.
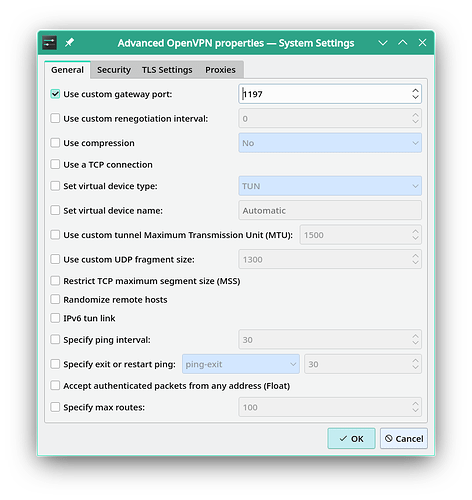
Next in the same window click"Advanced". Under “General” tab select “Use custom gateway port” and set that to 1197.
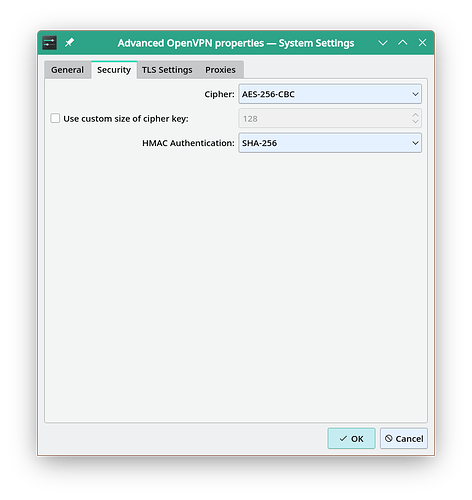
Next under “Security” tab for Cipher select “AES-256-CBC” then for “HMAC Authentication” select “SHA-256”.
Select OK to save the Advanced settings. Select Save to create our VPN Connection.
Now in Konsole to open and start this connection:
cd /opt/piavpn/bin/
sudo ./pia-client
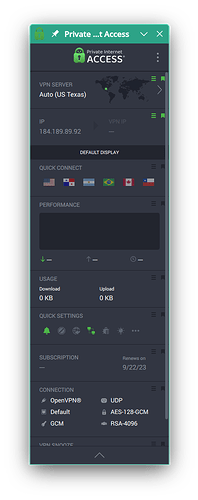
You will see a window that offers a quick tour, I recommend you do that, and then login with your PIA VPN account user name and password. (You will need to start the VPN from terminal every time you login.)
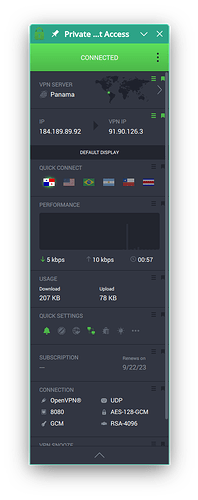
Under “Quick Connect” you will see some flags. Each one of those will change your location and IP address. For more choices where you see “VPN Server” select the >. I selected the Panama flag for this test.
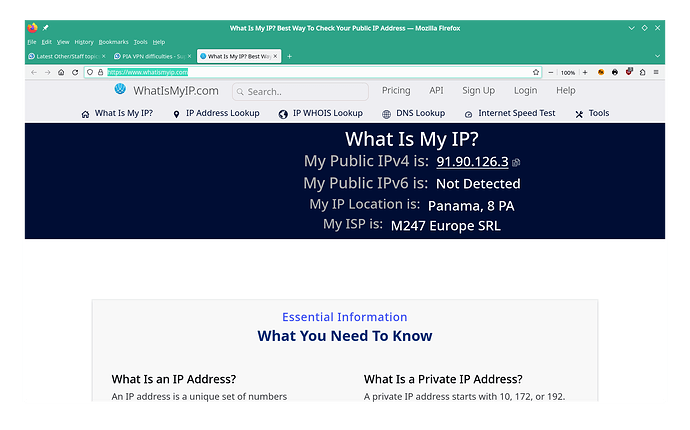
Now to check if this is working open a browser and go to whatismyip.com.
My Public IPv6 is: Not Detected >>> because my IP provider does not have that.
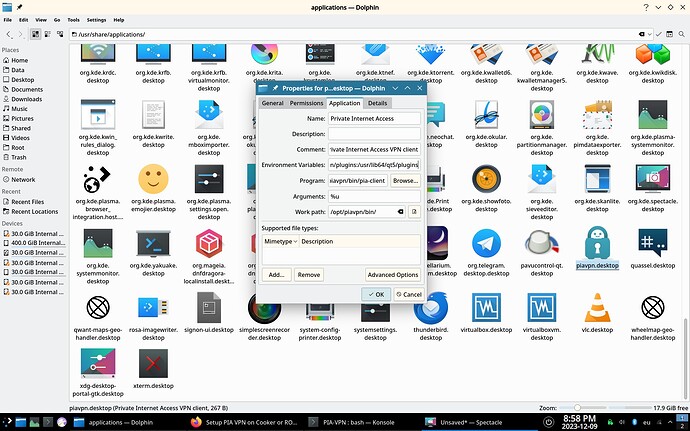
Now we need to add an environment variable to the entry in Application Launcher>Internet for Private Internet Access so it will start. To get PIA VPN to start from the Application Launcher>Internet>Private Internet Access just add this environment variable to /usr/share/applications/piavpn.desktop:
The environment variable: QT_PLUGIN_PATH=/opt/piavpn/plugins:/usr/lib64/qt5/plugins
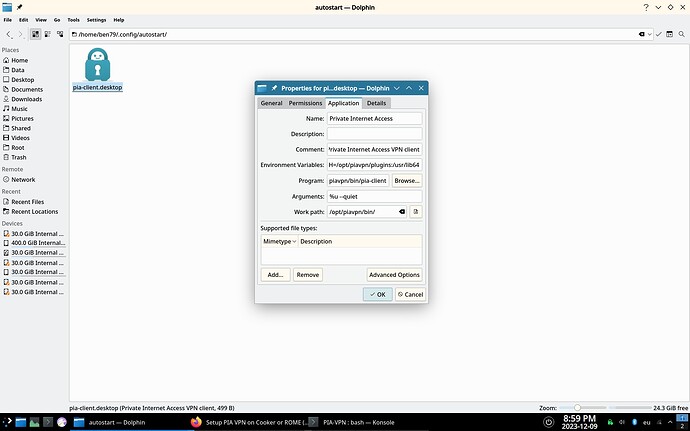
If you want PIA VPN to launch on desktop startup you then go to Settings in PIA VPN and select “Launch on System Startup”. The go to /home/your_user_name/.config/autostart/pia-client.desktop. And add the same environment variable there.
The environment variable: QT_PLUGIN_PATH=/opt/piavpn/plugins:/usr/lib64/qt5/plugins
Reboot.
Note: I have done this in Cooker, ROME, and Rock/5.0 partitions this works in all.
Credit to user @clfitz for the setup part of this. Credit user @peter-power-594 for the environment variable that enables this application to start.
