Until a solution to the GUI version is found, I can confirm the wireguard cli method works for Mullvad VPN using these instructions:
My system is running ROME Plasma6 AMD CPU (newer than 2017)
Prerequisites:
You need Wireguard:
sudo dnf install wireguard-tools
You will also need to install iptables:
sudo dnf install iptables
The rest of the instructions work as written in this tutorial.
NOTE:
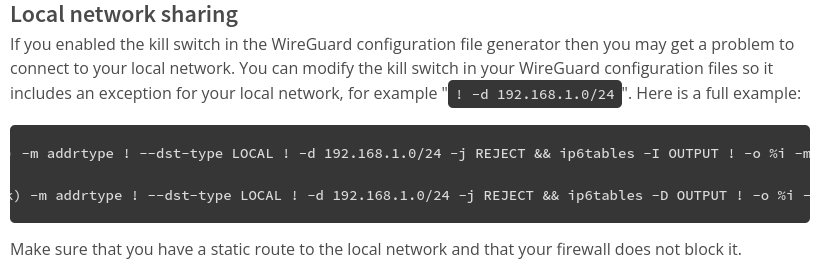
Pay attention if you use the “kill switch” option in the config generator, you will not be able to connect to the internet without adding the “Local network sharing” option to the config file.
If you need help figuring out your local network address:
One method to find your local network setting is to open the terminal (Konsole) and enter the command:
ip addr
This will print out your network protocols. Don’t worry, it will not change anything on your system.
You are looking for the “inet” entry. Do NOT use the “inet 127.0…” address. That is your local loopback address.
Find an entry for “inet 10.0.0.8/24” or “inet 192.168.0.35/24” or “inet 192.168.1.54/24”. Your numbers may be a little different than mine. The important bits are the 10.0.0 , 192.168.0 , or the 192.168.1 - the last digit(s) will be different for you.
Examples:
If your inet address is or is similar to:
10.0.0.8/24 then use “! -d 10.0.0.0/24” in the config file
If it is:
192.168.0.35/24 then use “! -d 192.168.0.0/24”
If it is:
192.168.1.54/24 then use “! -d 192.168.1.0/24”
This should get you up and going.
The GUI method is preferred as this method is very manual, and requires remembering various commands to start and stop. I set up some bash scripts to start and stop the process for me so I don’t have to remember everything.
Hope this helps! Let me know if I need to clarify anything or add further instruction.