Note: This tutorial is specific to fixing a broken boot-loader on installed systems. If your problem is not broken boot-loader see this tutorial or the other tutorials in English/Resources section. This is written with consideration for less technical users.
There are several ways to fix or recover a broken boot-loader with installed OMLx systems.
-
Use any current OMLx iso booted ‘Live’. This is what we will describe here.
-
Use the Super Grub2 Disk. It has it’s own instructions. I will also post a step by step in the next post in this thread.
To do this from the OMLx iso you will need to know the disk and root partition device name. Let’s get started:
Most of you know this but after each command or command string you press the Enter key to execute the command or command string.
-
Boot the iso.
-
Open Konsole (terminal) type
su -to become root, this time you don’t need a password because you are in OMLx iso ‘live’.

- Type
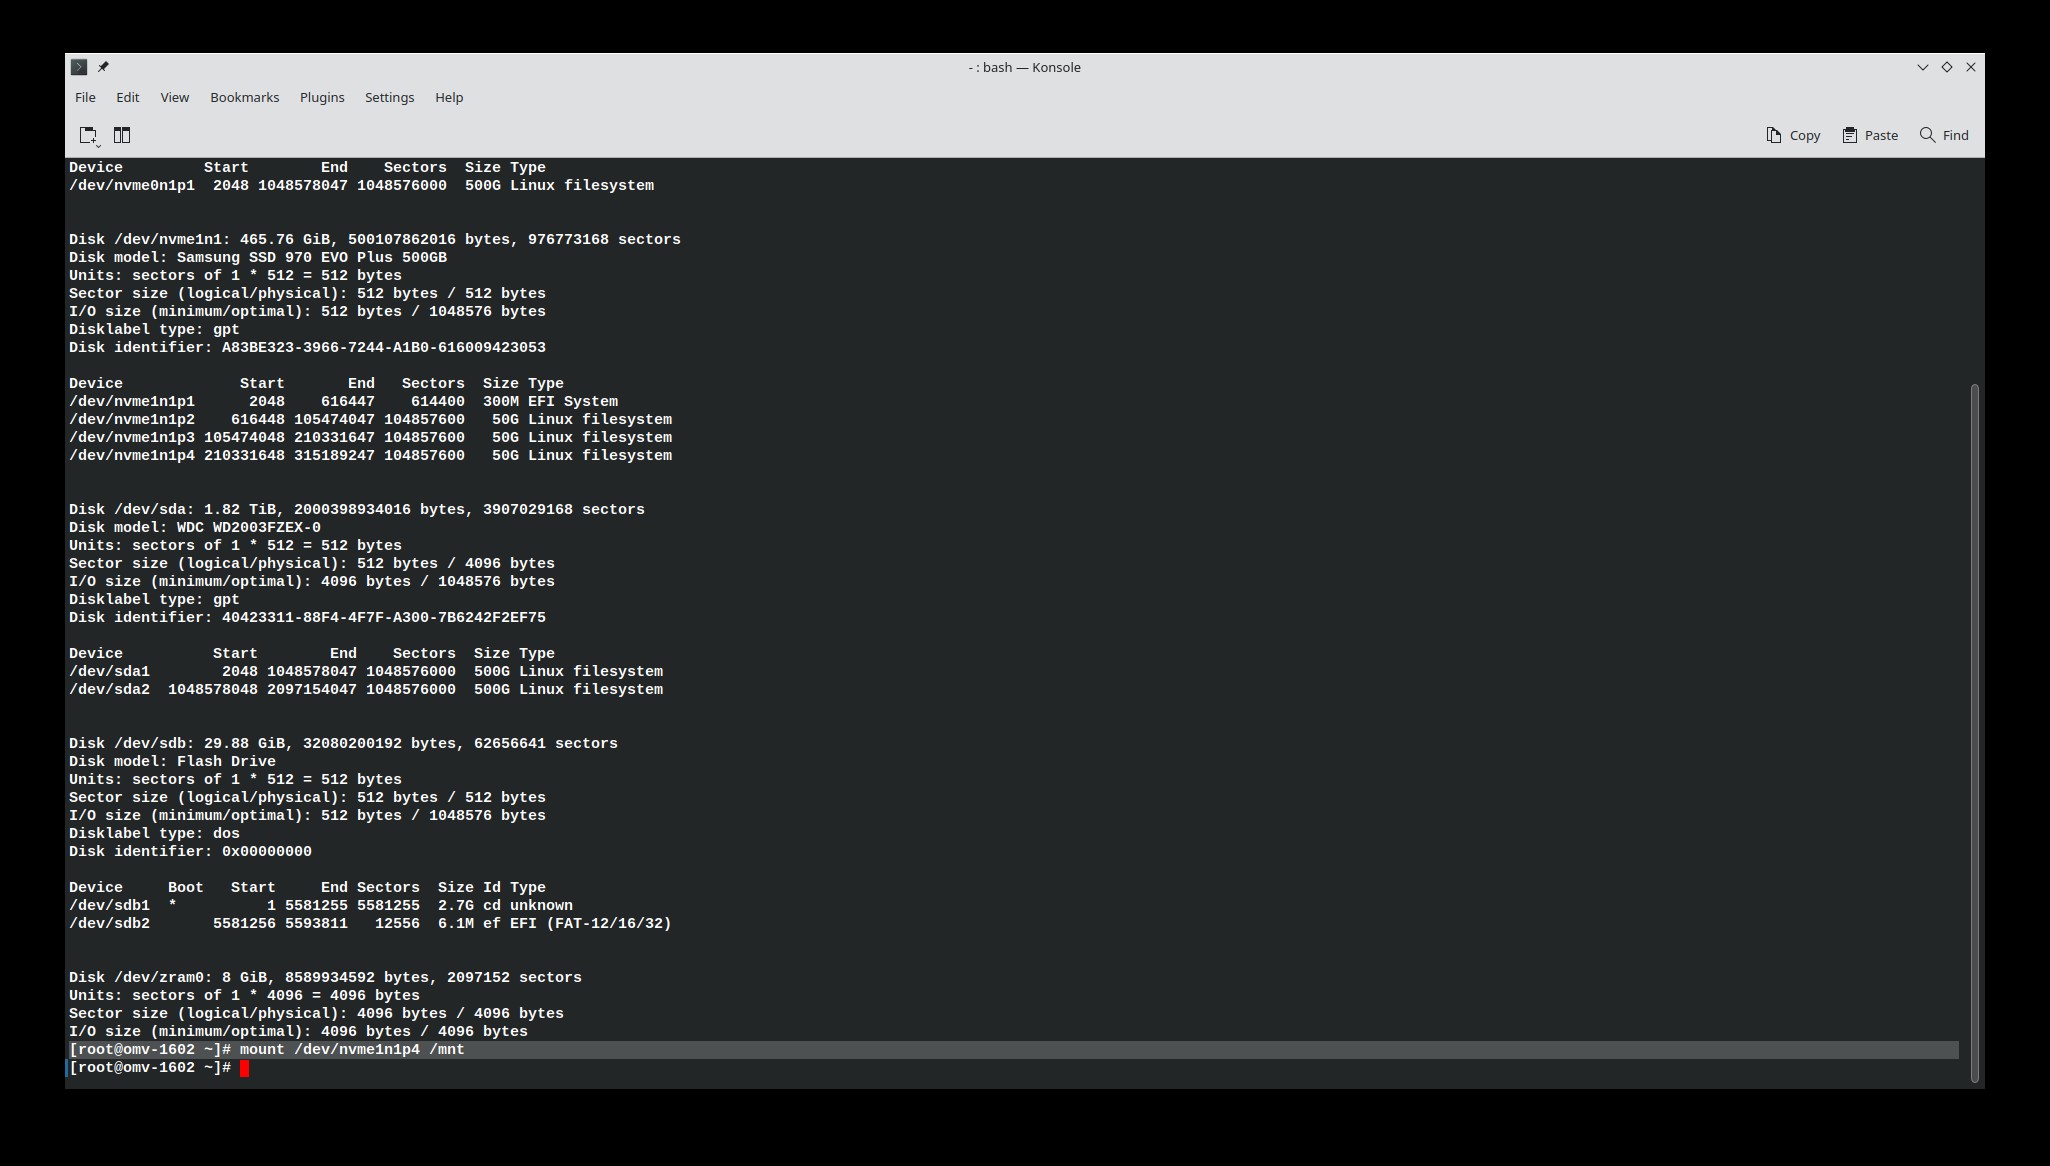
fdisk -land find your disk and root partition device name. The disk name will be something likeDisk /dev/sdaor for a nvme SSDDisk /dev/nvme0n1. The root partition device name will be listed under “Device” and have an addition number something like/dev/sda1or for nvme SSD/dev/nvme0n1p4.

-
Now we mount the root partition in Konsole:
# mount >partition device name< >destination directory<Like this example:
# mount /dev/sda2 /mntor if you have a nvme SSD like:
# mount /dev/nvme1n1p4 /mnt
-
Next run this command exactly (copy and paste it):
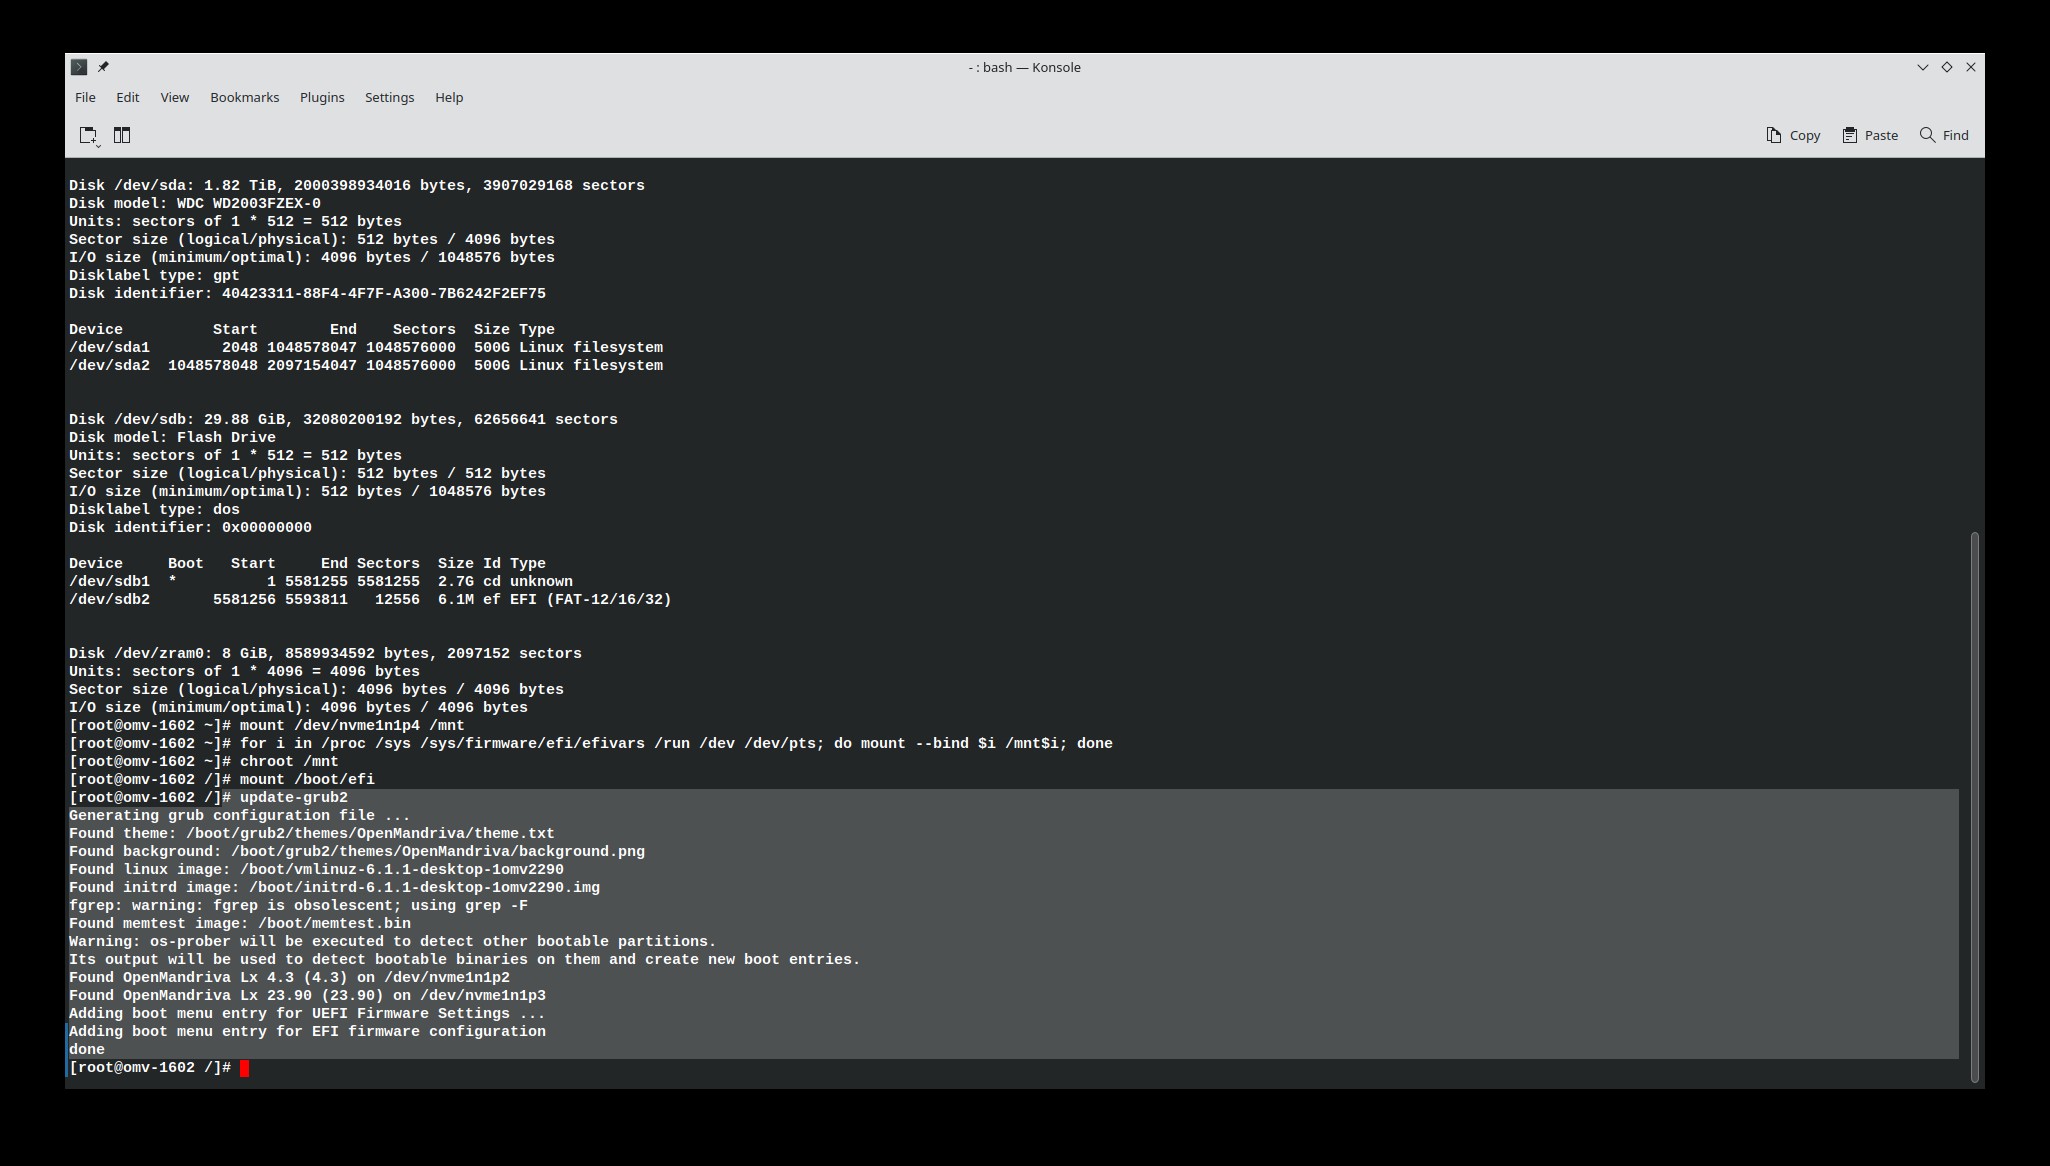
# for i in /proc /sys /sys/firmware/efi/efivars /run /dev /dev/pts; do mount --bind $i /mnt$i; done

-
Now we will use
chrootcommand to enter the remote system we are trying to repair:# chroot /mnt

Note how the shell identifier has changed from [root@omv-1602 ~]# to [root@omv-1602 /]# this indicates that our chroot to the remote system was successful.
-
Next for UEFI boot systems we need to mount
/boot/efiin thechrootsystem we want to fix.# mount /boot/efi

-
Next we update the grub2 menu:
# update-grub2
-
Now we install grub2 boot-loader, here use the name of the drive you want to boot from:
# grub2-install >HD or SSD device name<Example for conventional HD something like:
# grub2-install /dev/sdaOr for nvme SSD something like:
# grub2-install /dev/nvme1n1
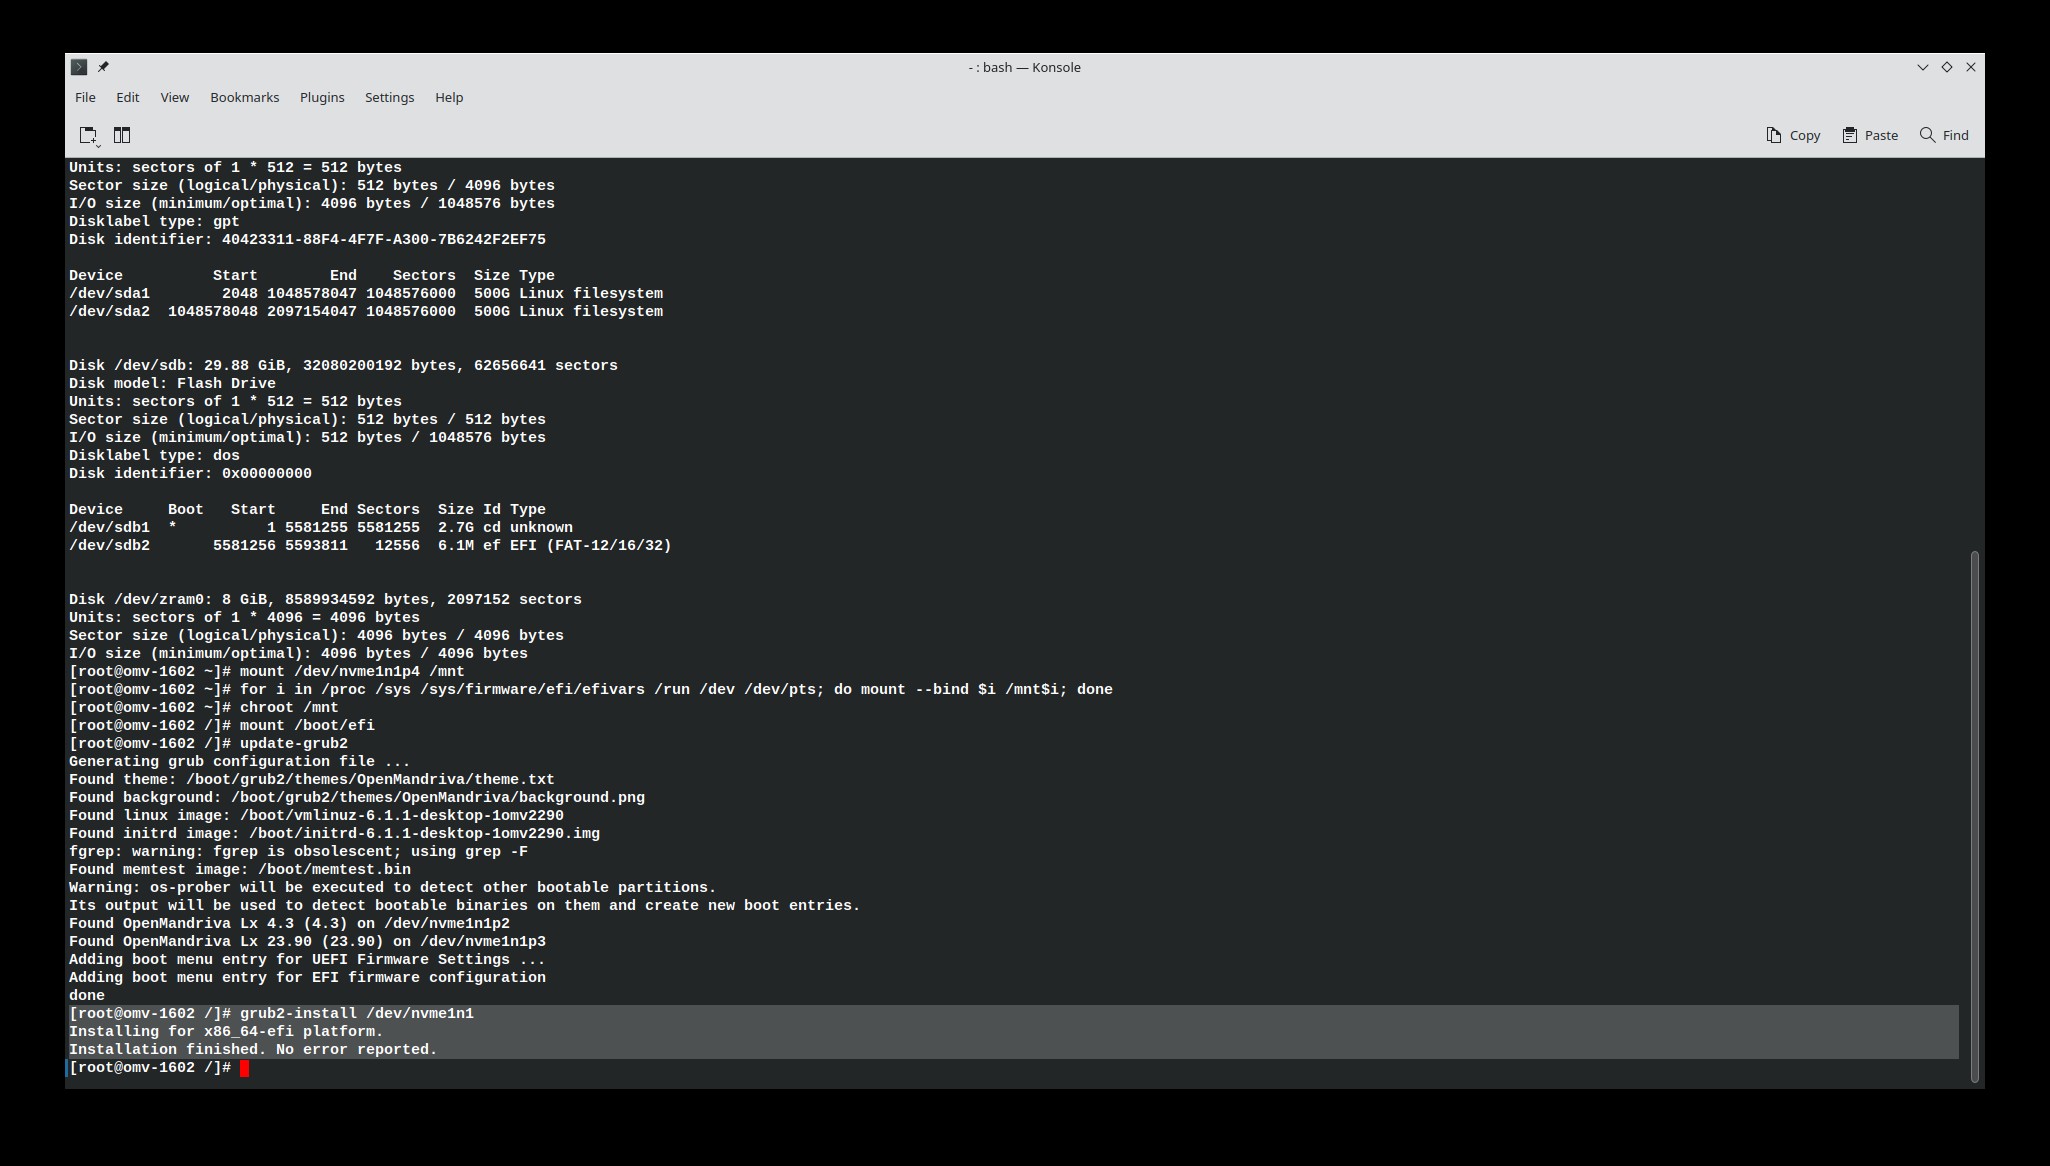
Proof! Boot-loader successfully installed on Disk /dev/nvme1n1.
-
Now we exit chroot and unmount stuff.
# exit

Use the arrow up key to find our mount command:
# mount /dev/nvme1n1p4 /mnt
Edit that to the umount command like this:
# umount -l /dev/nvme1n1p4 /mnt
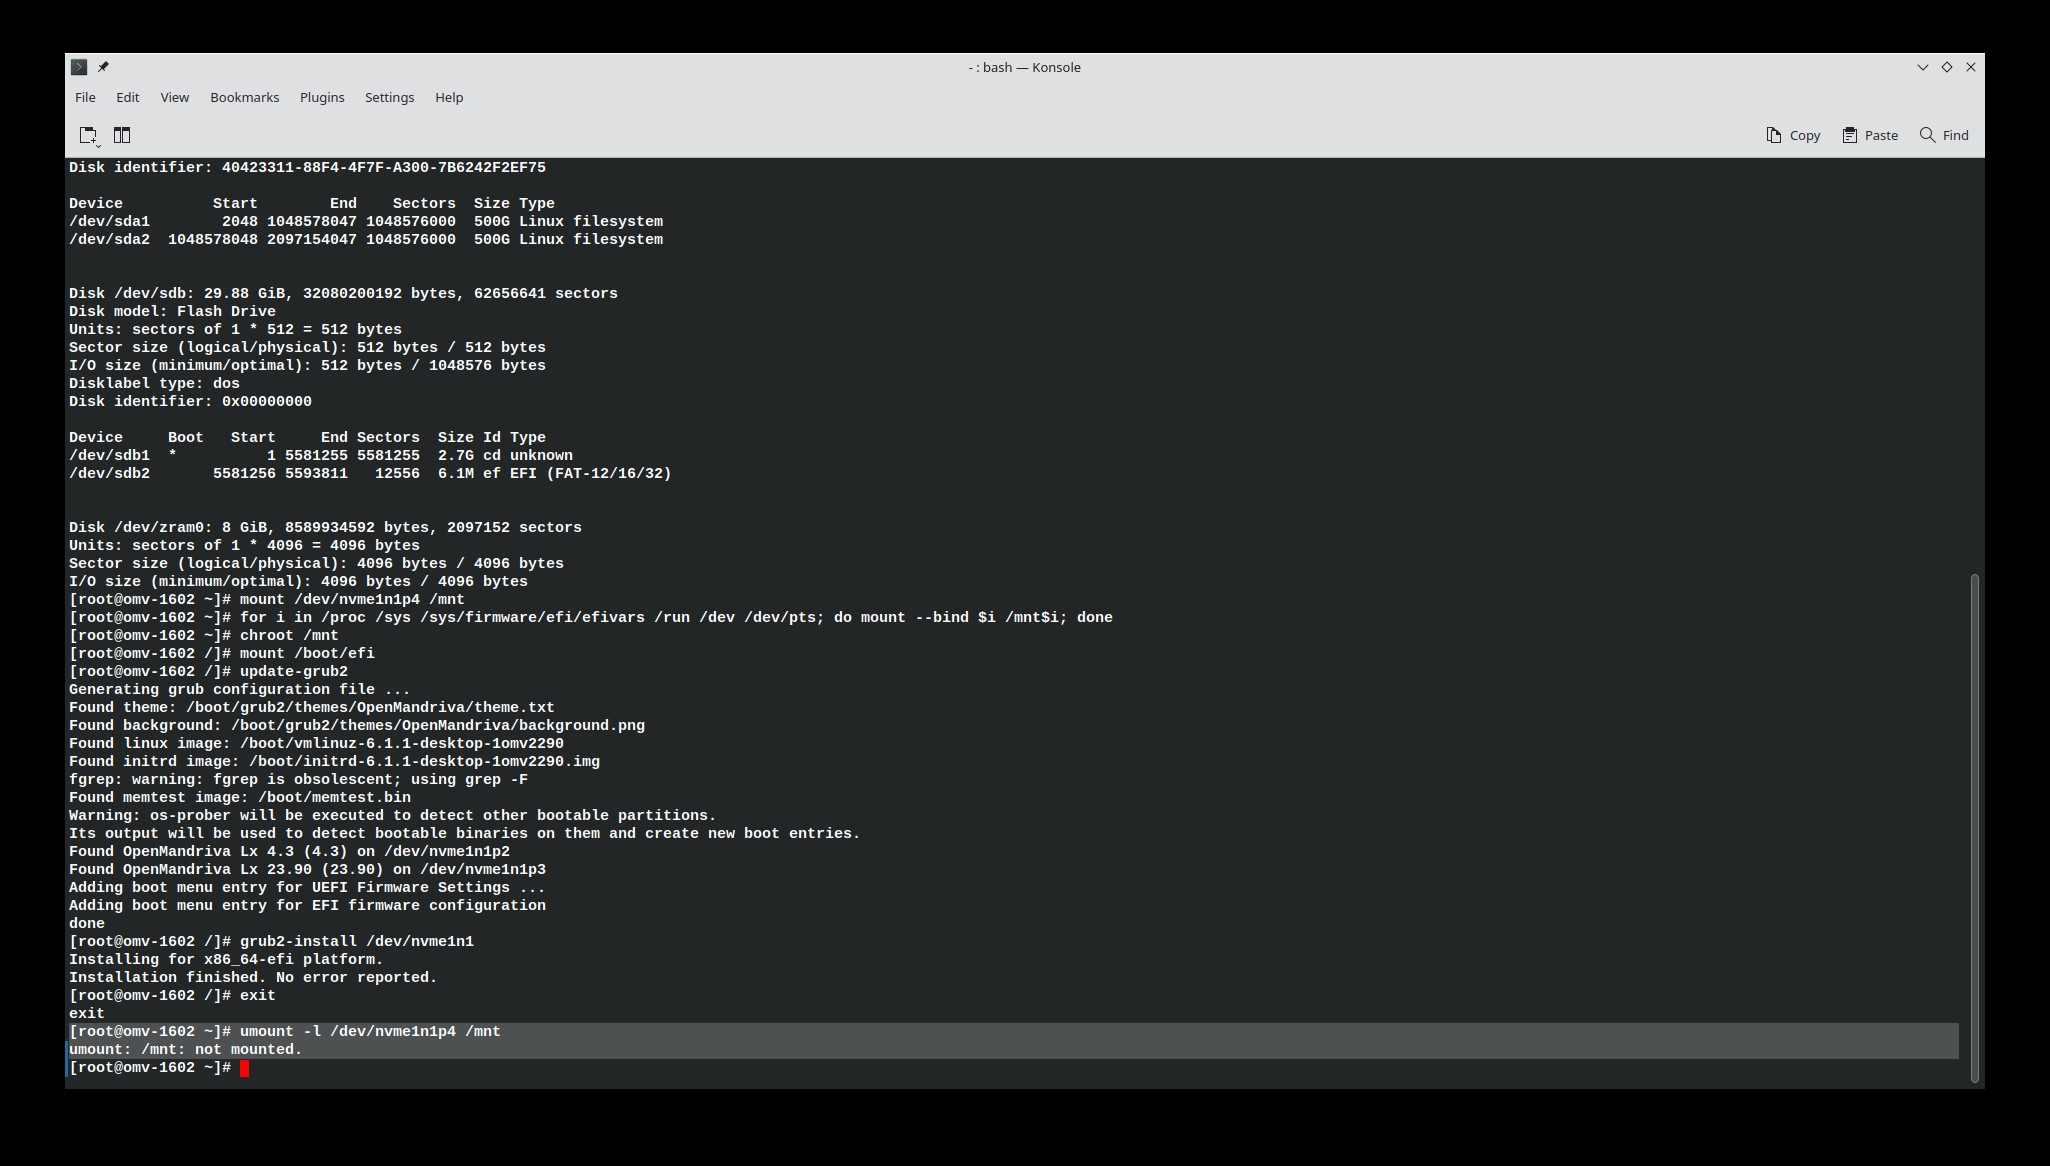
We’re done. We upgraded grub2 menu in remote system and installed grub2 boot-loader to disk.
- Reboot
Anyone with problems or questions about this please post in English/Support forum or reach out to us on OpenMandriva Chat. If you spot any errors or have suggestions let us know.
(Tested using ROME iso # 1602 2022-12-31.)
Thanks to developer/project leader @bero for providing the command string in step 8 that made this work.